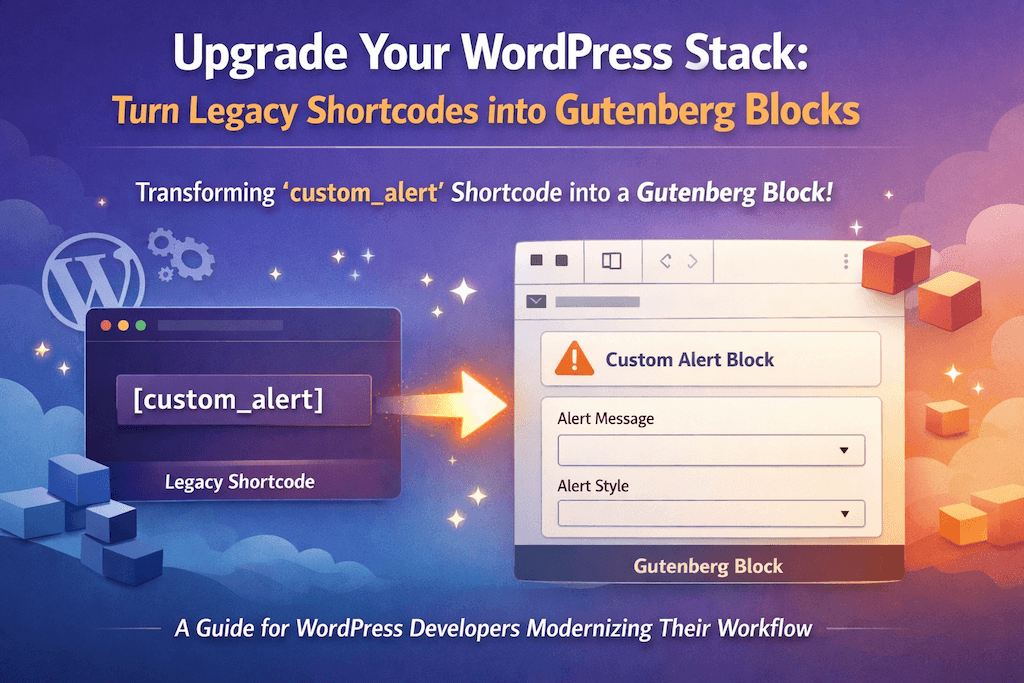
Modern WordPress development is moving rapidly toward block-based editing, and staying ahead means upgrading how we build and manage content. In this guide, we’ll take an existing legacy shortcode — custom_alert — and transform it into a fully functional Gutenberg block.
This walkthrough is designed for developers who already understand WordPress core concepts and want to modernize their workflow. By the end, you’ll see how a traditional shortcode can be reimagined into a reusable, editor-friendly block that fits perfectly into the Gutenberg ecosystem.
// Register the shortcode
function wpnd_custom_alert_shortcode( $atts ) {
    $atts = shortcode_atts(
    array(
        'message' => 'This is a default alert!',
        'type' => 'info', // info, success, warning, error
    ), $atts, 'custom_alert' );

    return sprintf(
        '<div class="wpnd-alert wpnd-alert-%1$s">%2$s</div>',
        esc_attr( $atts['type'] ),
        esc_html( $atts['message'] )
    );
}
add_shortcode( 'custom_alert', 'wpnd_custom_alert_shortcode' );
So you will use this shortcode like
[custom_alert message="Hello World!" type="success"]Now it is time to turn this shortcode into gutenberg block.
At first, we are going to write php code as a dynamic block.
function wpnd_register_custom_alert_block() {
    register_block_type( 'wpnd/custom-alert', array(
        'render_callback' => 'wpnd_render_custom_alert_block',
        'attributes'      => array(
            'message' => array(
                'type'    => 'string',
                'default' => 'This is a default alert!',
            ),
            'type'    => array(
                'type'    => 'string',
                'default' => 'info',
            ),
        ),
    ) );
}
add_action( 'init', 'wpnd_register_custom_alert_block' );

// Server-side render
function wpnd_render_custom_alert_block( $attributes ) {
    return sprintf(
        '<div class="wpnd-alert wpnd-alert-%1$s">%2$s</div>',
        esc_attr( $attributes['type'] ),
        esc_html( $attributes['message'] )
    );
}
For Gutenberg editor we need to write js code from where we will control this block options.
import { registerBlockType } from '@wordpress/blocks';
import { InspectorControls } from '@wordpress/block-editor';
import { PanelBody, SelectControl, TextControl } from '@wordpress/components';
import { __ } from '@wordpress/i18n';

registerBlockType('wpnd/custom-alert', {
    title: 'Custom Alert',
    icon: 'warning',
    attributes: {
        message: {
	    type: 'string',
	    default: 'This is a default alert!',
	},
	type: {
	    type: 'string',
	    default: 'info',
	},
    },

    edit({ attributes, setAttributes }) {
	const { message, type } = attributes;

	return (
	    <>
		<InspectorControls>
	            <PanelBody title="Alert Settings">
		        <SelectControl
			    label="Alert Type"
			    value={type}
			    options={[
				{ label: 'Info', value: 'info' },
				{ label: 'Success', value: 'success' },
				{ label: 'Warning', value: 'warning' },
				{ label: 'Error', value: 'error' },
			    ]}
			    onChange={(val) => setAttributes({ type: val })}
			/>
		    </PanelBody>
		</InspectorControls>

		<div className={`wpnd-alert wpnd-alert-${type}`}>
	            <TextControl
			label="Alert Message"
			value={message}
			onChange={(val) => setAttributes({ message: val                                          })}
	            />
	        </div>
            </>
        );
    },

    save() {
        // Dynamic block: save is handled by PHP
        return null;
    }
});
Finally, we need to enqeue this scripts.
function wpnd_enqueue_block_editor_assets() {
    wp_enqueue_script(
        'wpnd-custom-alert-block',
        plugins_url( 'block.js', __FILE__ ),
        array( 'wp-blocks', 'wp-element', 'wp-editor', 'wp-components', 'wp-i18n' ),
        filemtime( plugin_dir_path( __FILE__ ) . 'block.js' )
    );
}
add_action( 'enqueue_block_editor_assets', 'wpnd_enqueue_block_editor_assets' );